Launching Your App on iOS or Android: Which is Best?
Once you decide to build an app, you have a choice to make: should you develop your app for iOS or Android? Many factors impact your decision,...

Once you’ve finished building your app, your final step is getting your app approved by the App Store so you can get it out into the world of Apple users. Whether you choose to do submit your app to the App Store yourself or have your developer do it, it’s important you know the process for submitting your app to the App Store. In this post, we share what you need to know about the Apple App Store, the review process, and how to submit your app for approval.
The App Store is Apple’s marketplace for digital application products used on Apple devices. These devices include the iPhone, iPad, iPod touch, Apple Watch, and Apple TV. The App Store only offers apps usable on Apple mobile devices, and not apps built for Android or others.
People worldwide can browse the App Store to find, purchase, and download apps directly to their Apple devices. The App Store offers more than just a marketplace: it also monitors apps through an application process to ensure the highest standards for content, security, and privacy. There are almost 2 million apps on the App Store, and Apple reviews every single application.
Apple takes the review process very seriously. They review new app submissions and app updates to ensure they perform as expected, respect user privacy, and are reliable and free of objectionable content. It’s a good idea to review the App Store submission guidelines while developing your app to ensure you won’t have any submission issues. If you’re working with a developer, you’ll want to make sure they are intimately familiar with the App Store requirements and the submission process to ensure your app will get approved.
Here is the process required to submit an app to the App Store — for both new app submissions and updates to existing apps.
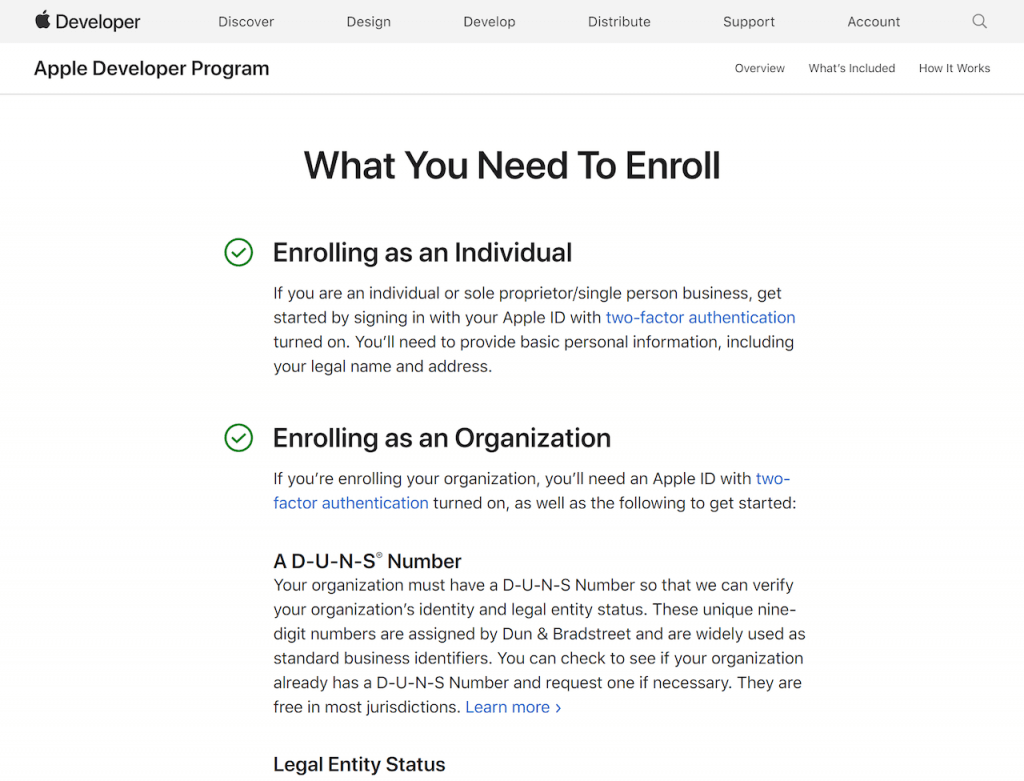
The first step to submit an app to the App Store is to enroll in the App Developer Program for an annual cost of $99. This program will allow you to submit apps to the App Store for all Apple platforms. It will also give you access to beta versions of Apple software and testing tools like TestFlight and app analytics. You’ll also be able to create Safari extensions and list them in the Safari Extensions Gallery. Some additional development capabilities such as Apple Pay, device check, and push notifications are also provided for functionality. Additionally, you’ll get access to App Store Connect, your portal for managing everything you do on the App Store. Ongoing annual membership to the App Developer Program is required to maintain apps in the App Store.
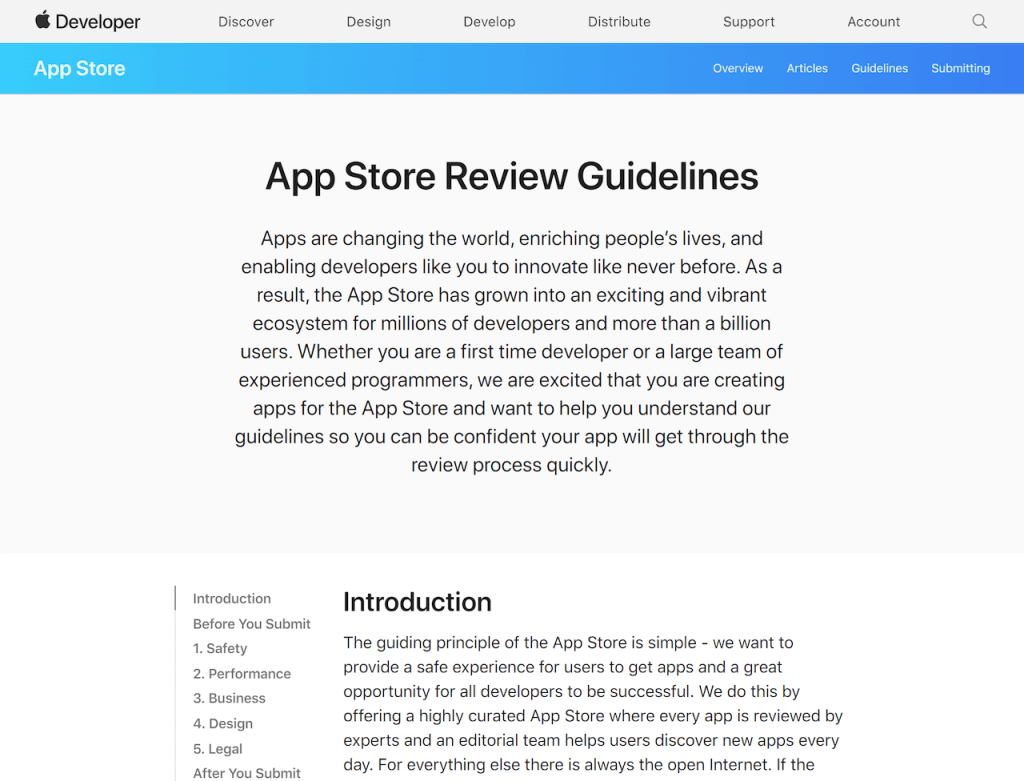
Before you submit your app, you’ll want to review the App Store guidelines to ensure your app meets all the requirements. The app needs to go through an app certification process to ensure it conforms to all of these policies before publishing to the App Store. The reviewer will judge your app relative to these requirements, so this step is critical for approval.
As you prepare your app for submission, it’s important to test for bugs and fix any that you find. Make sure to test your app under all conditions and even try to break it to see if it will hold up under scrutiny. TestFlight is a great tool to help with your beta testing.
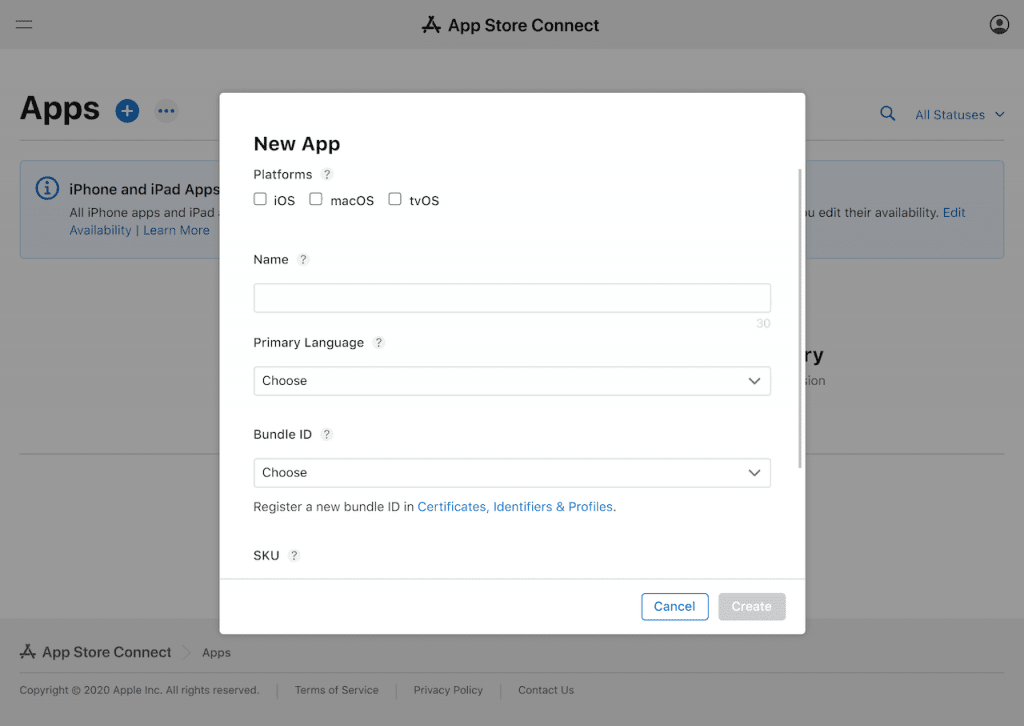
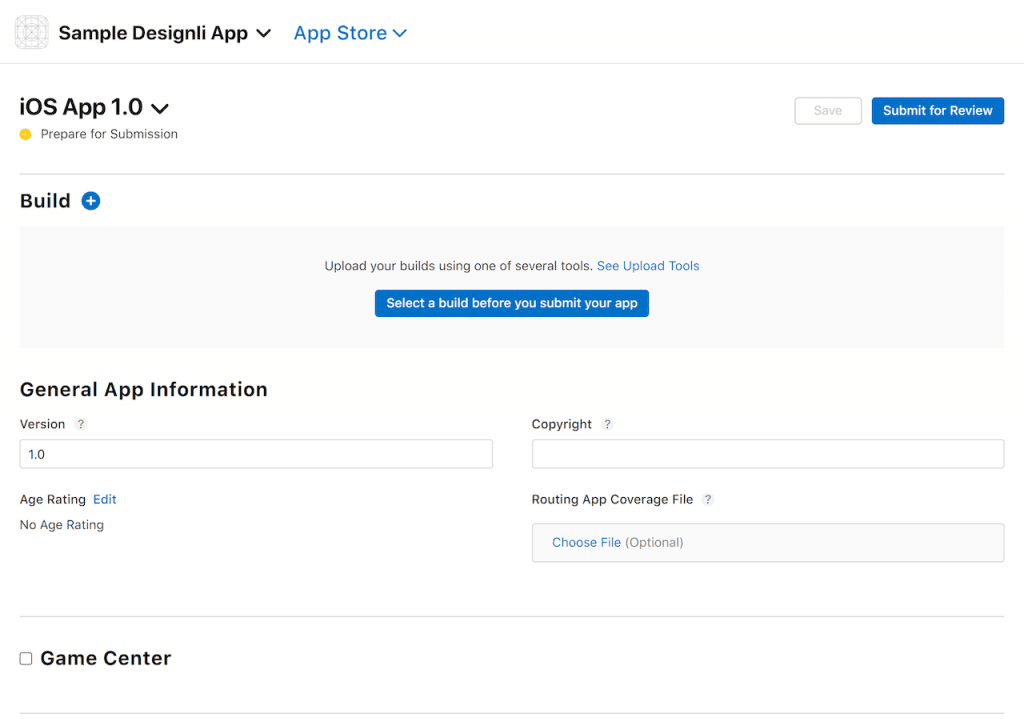
To create your App Store listing, start by logging into App Store Connect. In the My Apps menu, click the “+” to add an app. Complete the form with your app name, description, the category used for the App Store listing, the support URL, and the minimum age for users. If your app requires a login, provide a test account and password. If you’re unsure of any of your answers, include a question mark in that section. However, try to fill out the form as completely as possible.
You are also required to provide an app privacy policy with a URL and the pricing for your app. Finally, select the app release option you want to use once it passes the certification process. You can have it released immediately upon approval or on a specific date, or you can choose to release it yourself.
You’ll need to include screenshots for every device you are submitting, according to the required specifications. There are a few ways you can do this, and the easiest is with iOS Simulator. Create a PNG image by launching the simulator for the screen size you need, go to the screen you want to screenshot, and hit CMD+S on your keyboard. Once you’re done, simply upload the screenshots.
Once you have completed the other steps and your app is bug-free, you will upload it to Xcode. Select the iOS device from the list of simulators, then go to Product and Archive. It will bundle your app. When the process has completed, the archive window will open, showing you all of the archives you have created. Click on the archive and select Distribute App, and choose the iOS App Store. Xcode will let you know if there are any issues, and once this step is done, you will see a window with a message confirming your app was uploaded successfully to App Store Connect.
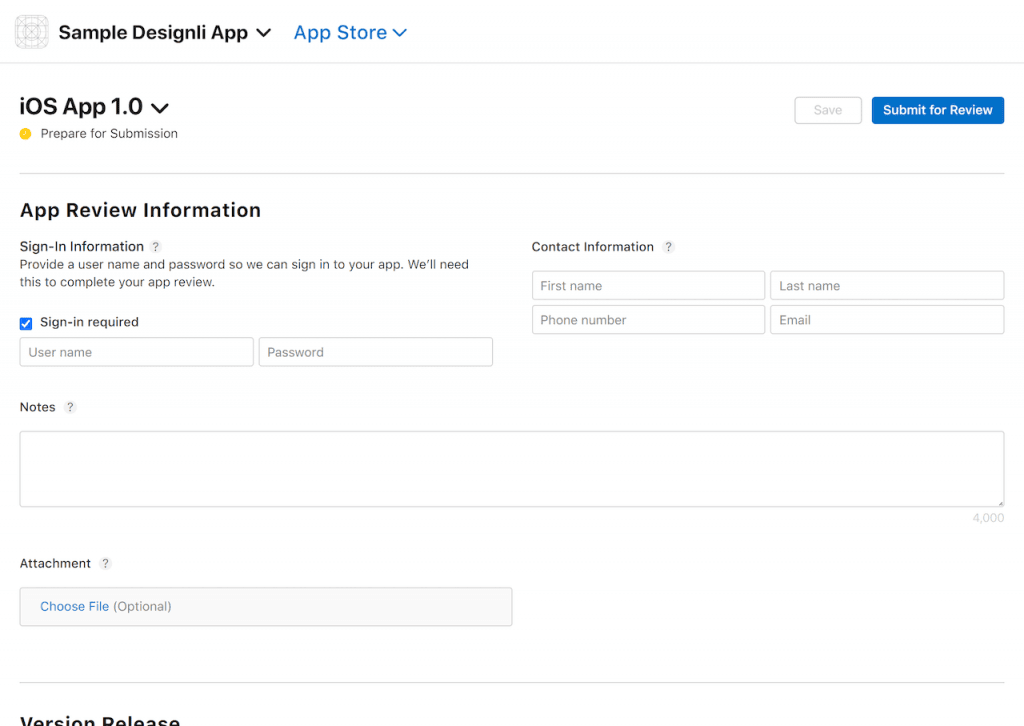
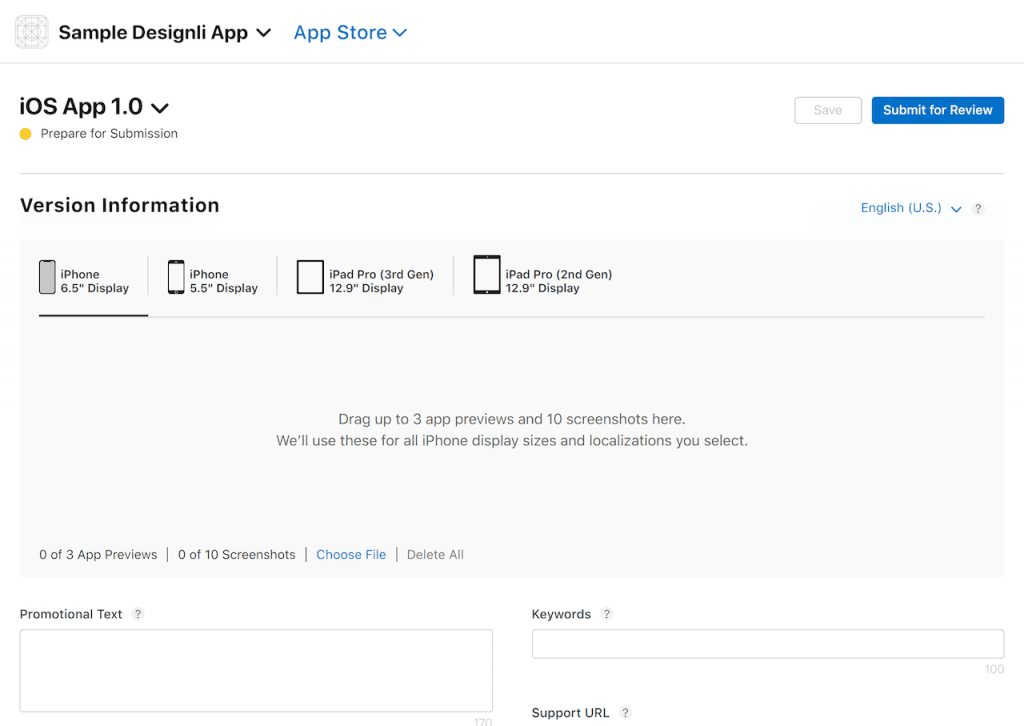
Take a look at App Store Connect, and you should see your submission. Select it and click the Save button on the top right of the screen. Once you’ve completed this, the Submit for Review button should turn blue so you can click it. Answer the questions that pop up about export compliance and advertising, and then you’re done! Your app should have a yellow tag and show that it is waiting for review. Review times can vary, but the process generally takes a few days. Once your app is approved, you’ll get an email confirmation.
The devil is in the details when it comes to submitting an app to the App Store. You want to make sure you know what you’re doing or have a trusted development partner who has experience navigating the process to do it for you. This is the last hurdle to getting your app to market, so it’s essential to get it right. We walk our clients through the process of submitting their apps to the App Store. Want to learn more about how we help? Get in touch, and we’ll schedule a call.
You might also like:
Subscribe to our newsletter.
Once you decide to build an app, you have a choice to make: should you develop your app for iOS or Android? Many factors impact your decision,...
Using an app builder has some advantages, but builders aren’t suitable for all apps. Here’s what you need to know about using an app builder, when...

When asking how much does it cost to build a mobile app, you’ll likely get the answer, “it depends”. There are numerous variables that can impact...
Post
Share